Warning: the following project may contain subject matter that is remarkably easy to do, but highly satisfying. Reader discretion is advised.
We’ve now made two large DIY hook rails and each time they’ve been low on effort and high on reward. Read: these get used ALL THE TIME. The first one is in our garage (you can see it on page 216 of our second book, Lovable Livable Home) and the second is the one we’re detailing for you today: this six-hook rail that we made for our beach house’s laundry/mudroom.
blue towel / black baskets / shelf brackets / gold hooks / cabinet pull / pendant / gold frame
If you’re unfamiliar with hook rails (here are some examples) they’re basically a series of hooks – sometimes small for keys or larger for coats and bags – that are affixed to a board that you then hang on your wall. They pretty much earn you 4-6 spots to hang things while only putting 2-3 holes in your wall. The idea is great, but most of them are only a couple of feet long at best, meaning the hooks can get a little cramped and crowded. And when you’ve got a big wall to fill, they might leave you wishing they were at least twice as long as their standard size.
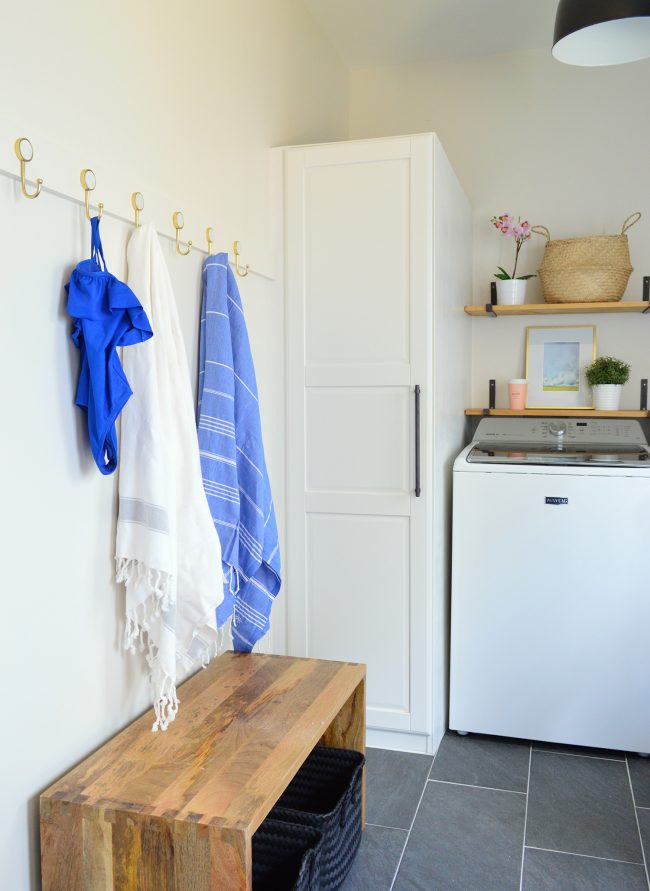
So when we decided to add a whole lot of hanging storage to the wall in our beach house mudroom / laundry room, we knew a regular hook rail would be too puny. Sherry quickly fell in love with these gold & marble single hooks from Target, which you saw when we first shared the laundry room makeover:
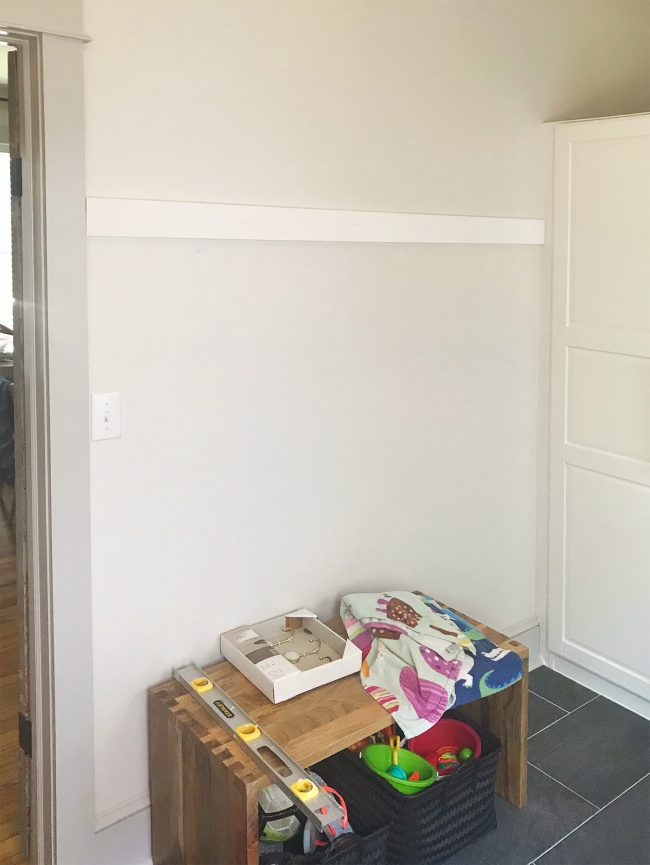
We didn’t really show you that wall very much because it was NOT the finished look we had in mind. We hurriedly slapped up these three hooks around 8 months ago – just to have something to hang coats and purses on in the winter months when we were there working – but it was pretty sad looking. We didn’t even level them. OH THE SHAME!
The easy answer is just to add more hooks, right? Well, two issues with that. First, I always prefer for hooks to go into studs. Anchors are a good back-up, but in a spot like this where I could foresee a kid trying to yank down a towel or a guest throwing a heavy beach bag up there – I feared them pulling out of the wall. But placing hooks only at studs means they could end up looking random and off-center – and we definitely couldn’t get as many hooks as we were hoping for if they had to be spaced 16″ apart.
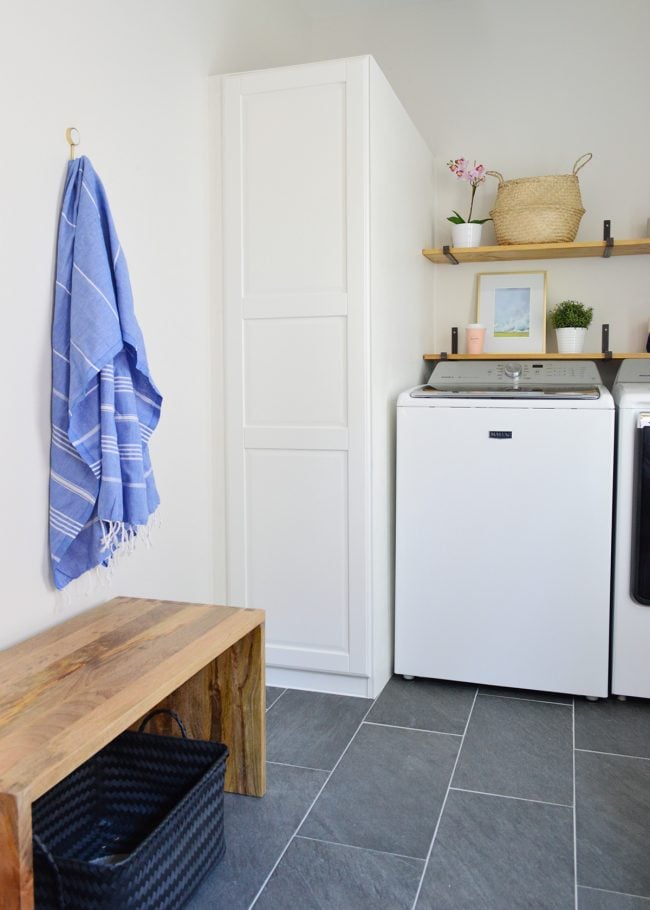
Second issue is that a wall this big felt like it could use some visual anchoring too. Some additional element to break up the space and visually organize the hooks on that big wall. The solution to both issues was adding the rail. In this case, our rail was just a 1×4″ primed board that spanned the whole distance, from door trim to built-in cabinet.
It actually has the same profile as the door molding, which helps it make sense aesthetically, and by attaching it securely into the studs in four places across that span (with nice long screws) we could now hang our hooks ANYWHERE that we wanted on the wall in whatever spacing we deemed best and know they’d be super secure.
When it comes to tips for the rail-hanging process: just make sure it’s level and use a stud finder to ensure that you’re hitting your studs. After it was hung, we spackled over the screw heads (make sure you counter sink them so you can hide them later) and then we painted the whole thing to match the wall.
My other hanging tip is when you’re attaching hooks that only hang on one screw, add some caulk to the back of each one to discourage it from spinning. This makes ALL THE DIFFERENCE.
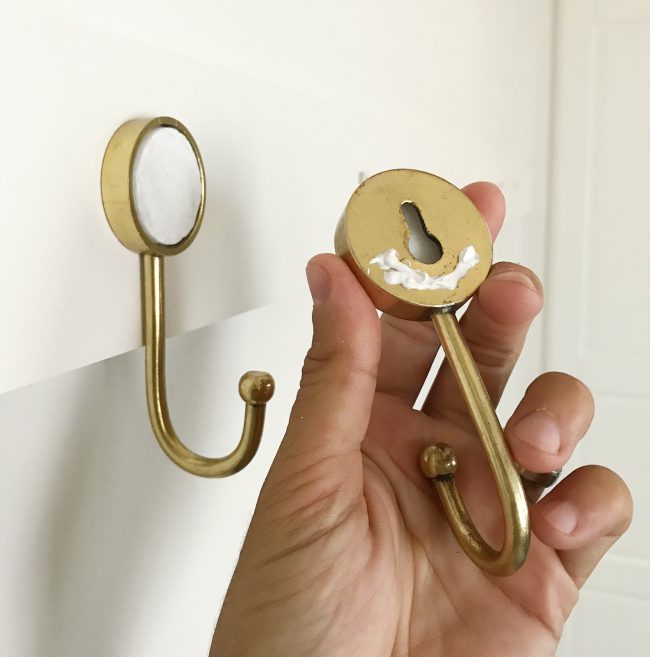
Before we did this, the hooks had a tendency to twist to the side when we took things off of them, but now the caulk acts as a light-duty adhesive to keep them in place. We still want to be able to remove them without causing damage to the rail, which is why we didn’t use an actual adhesive – but it does the trick to keep them from spinning and everything feels nice and sturdy.
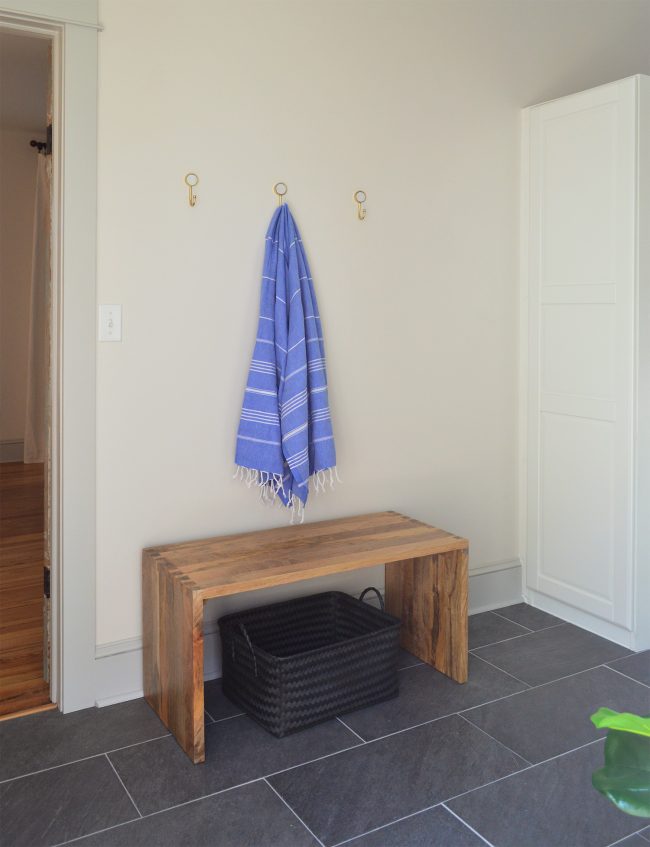
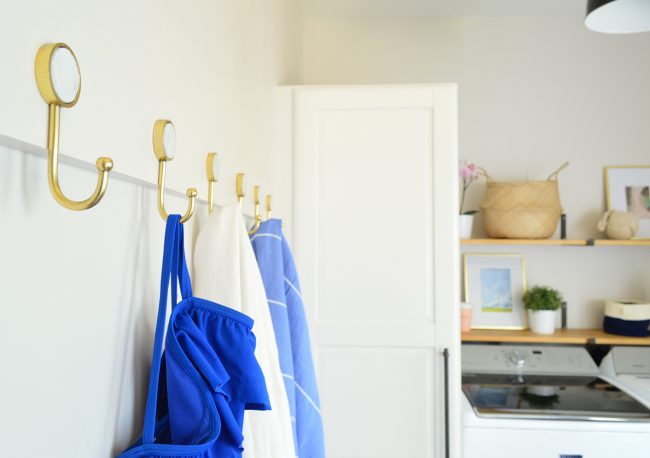
So here’s what the finished project looks like, including the dark pull that we added to the cabinet to match the iron shelf brackets. Like I said at the start, this hook rail project isn’t complicated or fancy, but it adds a ton of function to a wall without much effort, time, or money. Plus, this formula allows you to hang whatever hooks you want on whatever type of rail you’d like – you could even add a shelf over it if you’re looking for more vertical storage.

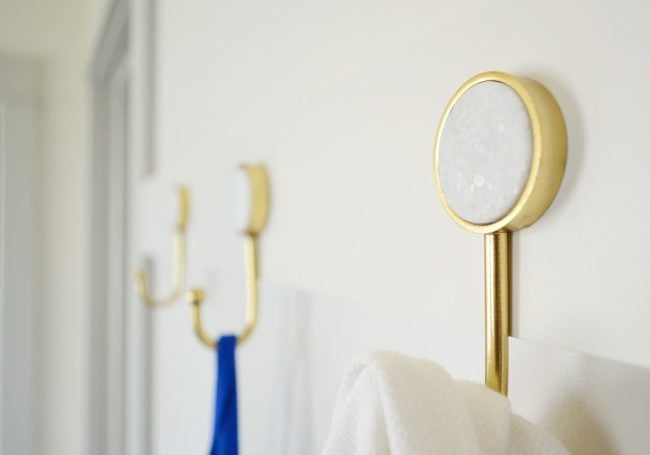
It’s hard to tell in the far away shots, but the reason Sherry fell for these hooks is they’ve got a little inset piece of marble. Even that listing on Target’s website does these a disservice, so I tried to capture the shiny stone element that they add to the room in this photo. I’d say I half-succeeded.
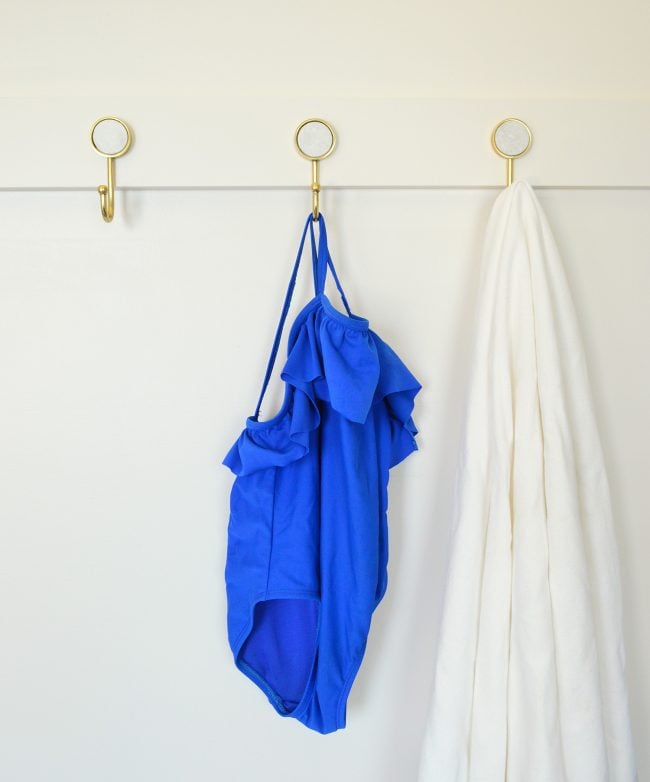
We finished this a few weeks ago and, although you see pretty light stuff hung in these pics, they’ve since been piled high with packed beach bags, coolers, two of our beach floats, and even our beach umbrellas (we hang two on one hook!). They are workhorses.
And in the winter they’ll be perfect for our coats, purses, hats, and jackets. Don’t get me started on the mess we had last year with four of us trying to share three hooks.
If you’re looking for more easy organization ideas, these projects might help. And none of them are very difficult:
- Four Ways We Organized Our Shed
- Maximizing Storage In A Pantry Closet
- How We Organized Our Kitchen Cabinets
- Adding Hidden Shoe Storage To The Wall
Or you can view all the posts we’ve ever written about organizing. That’s a fun little rabbit hole to fall into.
*This post contains affiliate links
The post A Simple Mega-Hook Rail For Your Mudroom appeared first on Young House Love.
A Simple Mega-Hook Rail For Your Mudroom published first on www.younghouselove.com
No comments:
Post a Comment