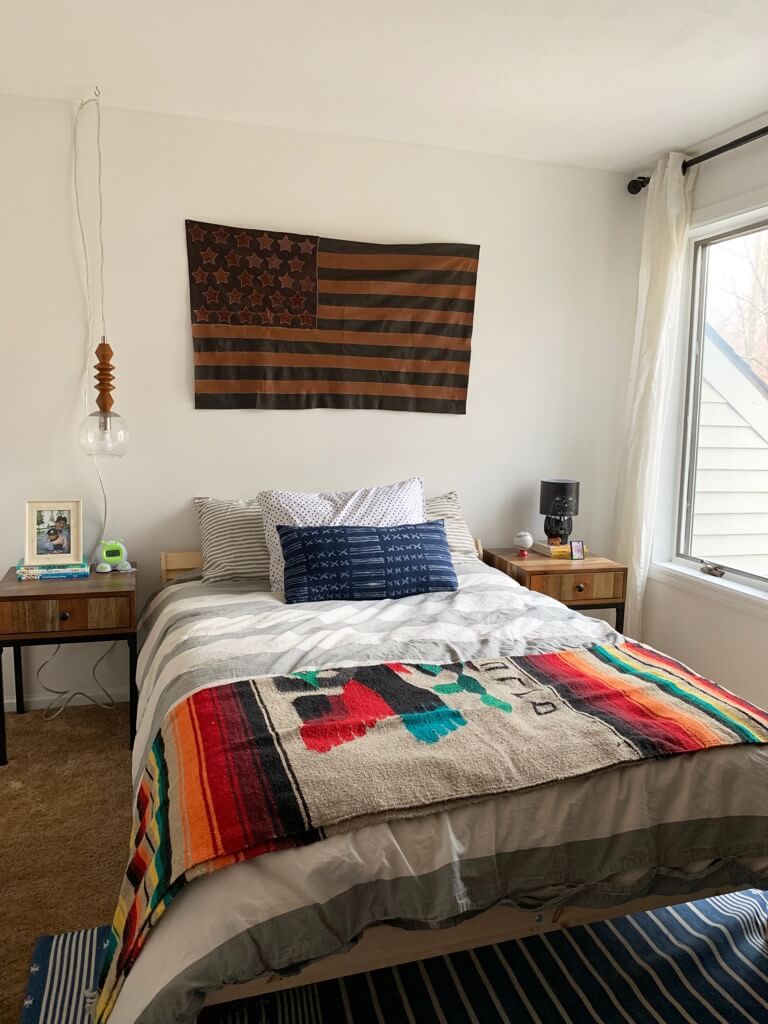
I love all the Ikea hacks I’ve ever done, but none have brought a room together as much as this one. I knew I wanted to do an upholstered bed frame for my son’s first “big boy bed,” but definitely didn’t want to fork over the cash for an expensive bed for a three year old.
So I decided to use the cheapest, basic IKEA Bed Frame, the NEIDEN Frame, and DIY the upholstery. I saw a different upholstery tutorial and the maker used blankets from an Army surplus store, so I decided to check that out myself.
I was picturing Navy fabric, but the beautiful grey-green color caught my eye. If you don’t have a local Army Surplus store, I found options on Etsy or you could always use felted wool by the yard.

before

After! An affordable upholstered bed frame
The project took an afternoon, about 3 ½ hours (not including assembling the bed). The total cost of the hack was about $200, $100 for the bed frame, $25 for the batting, $60 for the blankets and I had some plywood and construction materials on hand, so I spent an additional $10-15.
Related: Professional looking FJELLSE upholstered bed hack
IKEA items used:
- NEIDEN Bed Frame

NEIDEN bed | IKEA.com
Other materials and tools:
- 3/4” plywood, I used pine
- 1” x 3” pine lumber – 8ft
- Extra loft batting, I used the entire roll of 90” x 108”
- Scissors
- Staple gun
- Drill
- Rotary cutter (I prefer over scissors)
- 1 1/2” wood screws
- Felted wood, I used 2 vintage army blankets

Upholstered Bed Frame step by step:
1. Screw plywood to front of existing headboard.

2. Use the 1”x3” lumber to build a “box as shown in photo.

3. Cut batting and wrap side rails and foot of bed. Use the staple gun to secure in place. Careful to keep the corners and edges as clean as possible. I took several photos below to best show my wrapping technique.

Related: How to make a West-Elm inspired upholstered headboard


4. Cut and wrap the headboard with batting. I used the remainder of batting to wrap the top edge and corners with an extra layer. Use the staple gun to secure in place.

5. Cut and wrap the head board with fabric or blanket. Fold the corners and trim to keep as clean as possible. Again, I added detailed shots to try and show how I folded and tucked the fabric.

Related: From plain to luxe upholstered bench


**I did not finish the back of the headboard, since I knew it would be hidden.
6. Cut and wrap the side rails and foot. Secure in place with staple gun. Again, play around with folding and tucking at the corners to get the cleanest look.

DIY upholstered bed frame bonus tip
The hardest part of the hack is making the corners look nice and clean. It took careful attention, trimming and a lot of staples to keep it smooth.
If I had enough supplies on hand, I probably would have gone ahead to finish the back of the headboard. Though I’ve never once thought about or noticed that it’s not finished, it’s just one of those things that irk me on some level.
The perfectionist in me aside, I am so thrilled with how this upholstered bed frame hack turned out!


See the full tutorial of the upholstered bed frame on my blog.
~ by Lauren Koster
The post How to make an Upholstered Bed Frame on a Budget appeared first on IKEA Hackers.
How to make an Upholstered Bed Frame on a Budget published first on www.ikeahackers.net
No comments:
Post a Comment