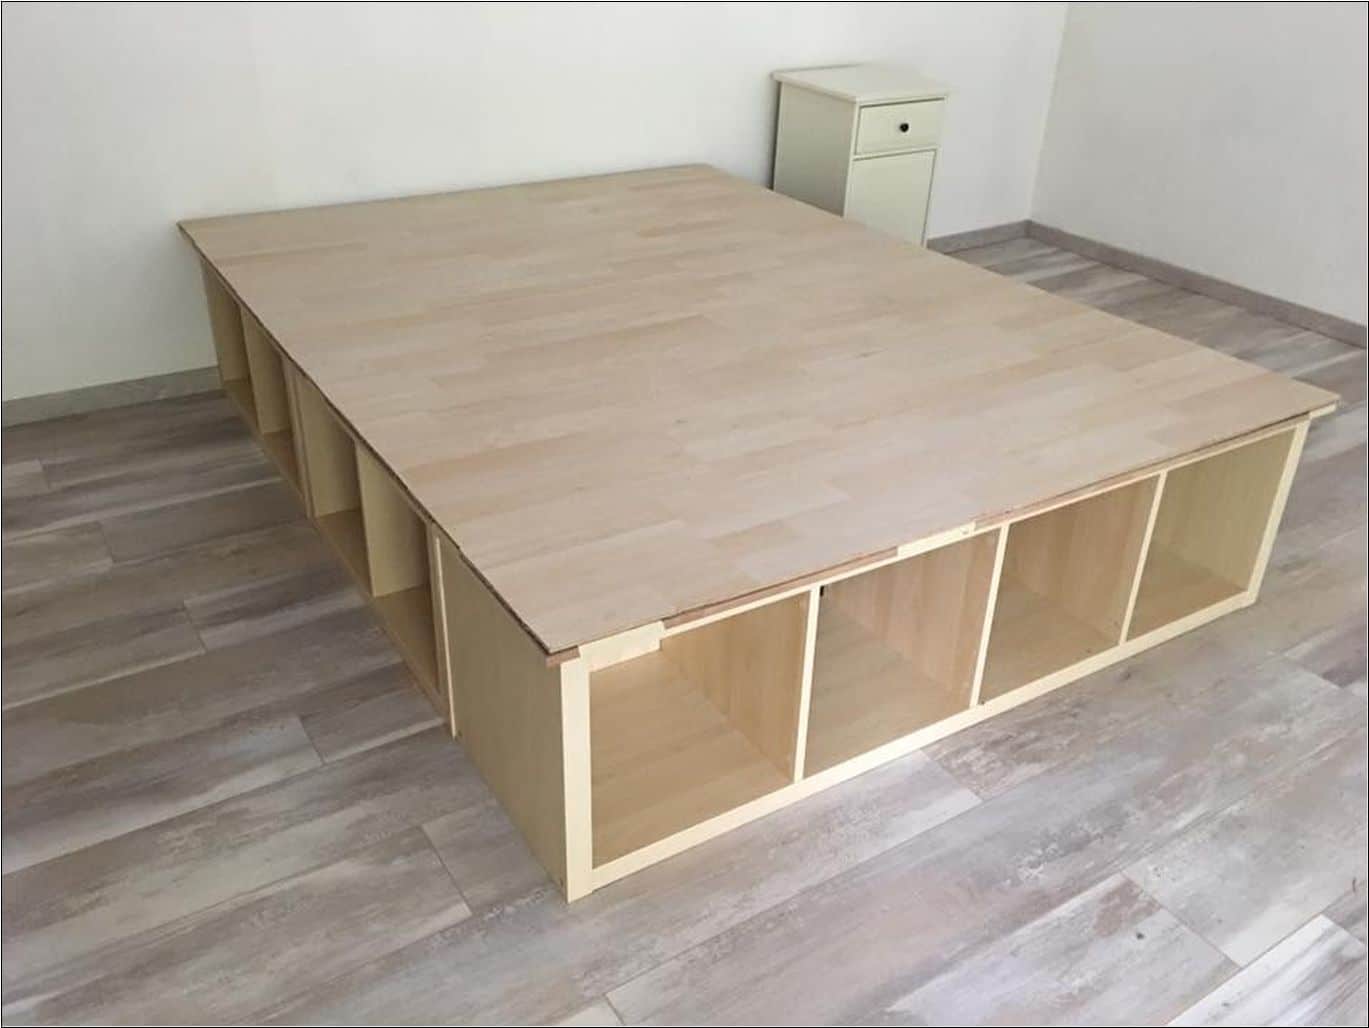
This waterbed frame hack is very similar to the “A full-sized bed built from KALLAX shelves + a DIY headboard“, but was build to support a full-sized waterbed.
This construction must be much more stable to support approximately 400 kg, but on the other hand, requires no ventilation for the mattress.
For obvious reasons, I decided to use the KALLAX shelves. They have a comfortable height for getting in and out of bed and can be easily combined due to the variety of modules.
Watch a video of the waterbed frame hack
Material list for the waterbed frame:
IKEA
- 4 KALLAX shelves 2 x 1 (77 x 42 cm)
- 1 KALLAX shelves 4 x 1 (147 x 42 cm)
Non-IKEA
- 4 wooden board (42 x 39 cm)
- 2 medium-density fibreboard (MDF) (200 x 75 cm)
- 1 oriented strand board (OSB)(20mm) (158 x 69 cm)
- 8 planed timber (50x50mm) (35 cm)
- 4 planed timber (5x5cm) (69 cm)
- Impact sound insulation (3,5 m²)
- Laminate (3,5 m²)
- Aluminum equal angle profile (5,5 m)
- LED stripe (5 m)
- Steel braces
How I made the KALLAX waterbed frame
This is the first sketch I did when I had the idea for this waterbed frame. It did not include the four wooden boards to support the weight.

Related: See more IKEA hacks for bedrooms
But, I was not sure if the KALLAX shelves where strong enough to carry a waterbed. So I placed four wooden boards between the shelves.

I used some L-brackets and steel braces to connect the shelves

To support the main weight, I used eight legs, that held up an Oriented Strand Board, that exactly fitted between the shelves


The waterbed base was finished. Time to do something for the optics. I bought two MDF boards that when combined were a bit larger than the base.
The reason, I had bought two boards and not one was a single board 150×200 cm would not fit into my car.

I was not sure if I would need it, as no one ever would walk on the laminate boards. But I had enough impact sound insulation left over from the last conversion so I had it installed under the laminate boards.


The laminate did not have to be laid floating and so I screwed it on to the MDF board.

I sawed the aluminum profile, mitered and glued it with hot glue on to the MDF board.

The aluminum profile is 4 x 4 cm, which left enough room, to stick an adhesive-backed LED strip on the inner vertical side of the profile.


Well, I thought this is it and the work is done…
…but after looking at the bed for a while I thought a headboard was missing. Not much. Just a place to drop a book or smartphone or something like that
Material list for the waterbed headboard:
IKEA
- 2 MOSSLANDA picture ledge (115 cm)
- 1 MOSSLANDA picture ledge (55 cm)
Non-IKEA
- 1 white chipboard 100 x 150 cm
- iron on edge banding
- 1 quarter round strip wood moulding (150 cm)
I cut a short MOSSLANDA picture ledge in half and screwed the four ledges on the chipboard. The lower ledge was on the same height as the bed and the upper ledge at a height so that a book or tablet would not accidentally drop over the edge.

Since the chipboard was cut to the correct size, I had to iron on the banding.

The headboard was just placed between the wall and the bed and not fixed to either of it. The last step was to glue the quarter round strip moulding to the bed.
I did not do any calculation of how much weight this bed might carry, but I can tell you that it is now supporting my 140×200 cm waterbed for more than a year.


And here’s how the waterbed frame looks complete with waterbed mattress.


~ by Christoph Bock
The post This is how I made a waterbed frame from IKEA KALLAX appeared first on IKEA Hackers.
This is how I made a waterbed frame from IKEA KALLAX published first on www.ikeahackers.net
No comments:
Post a Comment